
さくらVPS借りて最初にやったこと
目次
- さくらのVPSの申込&ログイン
- 接続と初期設定
- 作業用ユーザの作成&設定
- 鍵認証の設定
- SSHの設定
- Webサーバの設定
- VirtualHostの設定
- PHPの設定
- MySQLの設定
- Ruby & Railsの設定
- MongoDBの導入
- その他の細かい対応
- 参考URL
さくらのVPSの申込&ログイン
- 申込内容
- さくらのVPS(v4) SSD 512 TK02
- メールを確認: 「[さくらのVPS] 仮登録完了のお知らせ」
- コントロールパネルへのログイン
- https://secure.sakura.ad.jp/vps/
- 起動ボタンをクリックし、稼働中になることを確認
接続と初期設定
- SSHでVPSに接続
- 下記のように接続できない場合は、コントロールパネルから再起動すれば直るはず
$ ssh root@xxx.xx.xxx.xxx
The authenticity of host 'xxx.xx.xxx.xxx (xxx.xx.xxx.xxx)' can't be established.
- 無事接続できれば下記のようになる
$ ssh root@xxx.xx.xxx.xxx
The authenticity of host 'xxx.xx.xxx.xxx (xxx.xx.xxx.xxx)' can't be established.
RSA key fingerprint is xx:xx:xx:xx:xx:xx:xx:xx:xx:xx:xx:xx:xx:xx:xx:xx.
Are you sure you want to continue connecting (yes/no)? yes
root@xxx.xx.xxx.xxx's password:
---
SAKURA Internet [Virtual Private Server SERVICE]
---
[root@xxx-xxx-xxxxx ~]#
- アプリケーションを最新の状態にする
[root@xxx-xxx-xxxxx ~]# yum update
読み込んだプラグイン:fastestmirror, security
更新処理の設定をしています
Loading mirror speeds from cached hostfile
* base: ftp.iij.ad.jp
* epel: ftp.iij.ad.jp
* extras: ftp.iij.ad.jp
* updates: ftp.iij.ad.jp
更新と設定されたパッケージがありません。
- 特にアップデートがなければ上記となり、ある場合は y でアップデートする
- 日本語化する
- 下記ファイルを開き
[root@xxx-xxx-xxxxx ~]# vim /etc/sysconfig/i18n
- LANG=”C”を
* LANG="C"
SYSFONT="latarcyrheb-sun16"
- ↓ LANG=”ja_JP.UTF-8″に書き換える
LANG="ja_JP.UTF-8"
SYSFONT="latarcyrheb-sun16"
- 一旦exitし、再度sshログインすると、日本語表示になっている
[root@xxx-xxx-xxxxx ~]# date
2016年  7月  6日 水曜日 19:21:56 JST
作業用ユーザの作成&設定
- いまはrootだからユーザを作る必要がある
[root@xxx-xxx-xxxxx ~]# useradd dotinstall
[root@xxx-xxx-xxxxx ~]# passwd dotinstall
ユーザー dotinstall のパスワードを変更。
新しいパスワード:
よくないパスワード: 辞書の単語に基づいています
新しいパスワードを再入力してください:
passwd: 全ての認証トークンが正しく更新できました。
- sudoという一般ユーザがroot権限で作業できるコマンドをセットする
- あるuserをwheelグループに入れるように変更する
[root@xxx-xxx-xxxxx ~]# usermod -G wheel dotinstall
- wheelグループがsudoを使えるようにする
[root@xxx-xxx-xxxxx ~]# visudo
 97 ## Allows people in group wheel to run all commands
 98 # %wheel        ALL=(ALL)       ALL
- コメントを消してやる
 97 ## Allows people in group wheel to run all commands
 98 %wheel        ALL=(ALL)       ALL
- 別のターミナルを開いて、新規ユーザでログインして確認
$ ssh dotinstall@xxx.xx.xxx.xxx
dotinstall@xxx.xx.xxx.xxx's password:
-
SAKURA Internet [Virtual Private Server SERVICE]
-
[dotinstall@xxx-xxx-xxxxx ~]$
鍵認証の設定
- パスワード認証だとセキュリティの強度が弱いので鍵認証を行う
- 鍵認証とは秘密鍵はMac側に、公開鍵はVPS側に渡して認証を行うというもの
①VPS側で公開鍵の保管場所を作る[dotinstall@xxx-xxx-xxxxx ~]$ pwd /home/dotinstall [dotinstall@xxx-xxx-xxxxx ~]$ mkdir ~/.ssh [dotinstall@xxx-xxx-xxxxx ~]$ chmod 700 ~/.ssh
②Mac側で鍵のペアを生成(秘密鍵、公開鍵)
すでに鍵があると下記の表示となる
$ ssh-keygen -t rsa -v
Generating public/private rsa key pair.
Enter file in which to save the key (/Users/username/.ssh/id_rsa):
/Users/username/.ssh/id_rsa already exists.
Overwrite (y/n)?
$ ls ~/.ssh/
id_rsa      id_rsa.pub  known_hosts
公開鍵のパーミッションを変えておく
$ ls -l ~/.ssh/
total 24
-rw-------  1 username  staff  1679  2 12 22:57 id_rsa
-rw-r--r--  1 username  staff   409  2 12 22:57 id_rsa.pub
-rw-r--r--  1 username  staff   793  7  6 18:46 known_hosts
$ chmod 600 ~/.ssh/id_rsa.pub
$ ls -l ~/.ssh/
total 24
-rw-------  1 username  staff  1679  2 12 22:57 id_rsa
-rw-------  1 username  staff   409  2 12 22:57 id_rsa.pub
-rw-r--r--  1 username  staff   793  7  6 18:46 known_hosts
③公開鍵をVPSに転送
ローカルPCからVPSにSCP転送
$ scp ~/.ssh/id_rsa.pub dotinstall@xxx.xx.xxx.xxx:~/.ssh/authorized_keys
dotinstall@xxx.xx.xxx.xxx's password:
id_rsa.pub                                                                                                                                                                                       100%  409     0.4KB/s   00:00

[dotinstall@xxx-xxx-xxxxx ~]$ ll ~/.ssh/
合計 4
-rw------- 1 dotinstall dotinstall 409  7月  6 20:11 2016 authorized_keys
④Mac側で秘密鍵を使ってログイン
実際に鍵認証ができるかSSH接続してみる
$ ssh -i ~/.ssh/id_rsa dotinstall@xxx.xx.xxx.xxx
Last login: Wed Jul  6 19:47:17 2016 from xxx.xxxxx.net
-
SAKURA Internet [Virtual Private Server SERVICE]
-
[dotinstall@xxx-xxx-xxxxx ~]$
ちなみにssh -iオプションはデフォルトで上記ファイルをみるので必要なし
SSHの設定
- 鍵認証にはしたが、パスワードでもrootでもログインできるので、SSHの設定を行いセキュリティ強度を高める
あるユーザでroot処理が続く場合は下記コマンドでroot権限を持つ
ちなみに$のときは一般ユーザで、#のときはroot権限を持つユーザ
[dotinstall@xxx-xxx-xxxxx ~]$ sudo -s

We trust you have received the usual lecture from the local System
Administrator. It usually boils down to these three things:

    #1) Respect the privacy of others.
    #2) Think before you type.
    #3) With great power comes great responsibility.

[sudo] password for dotinstall:
[root@xxx-xxx-xxxxx dotinstall]#
①ポート番号の変更
デフォルトの22番があまりに知られすぎて攻撃の対称となるため、別の番号に変更
22 → 1024〜65535のどれか(今回は61203)
②パスワードログインの禁止
③rootログインの禁止
念のためバックアップを取り、上記をまとめて行う。
[root@xxx-xxx-xxxxx dotinstall]# cp /etc/ssh/sshd_config /etc/ssh/sshd_config.org
[root@xxx-xxx-xxxxx dotinstall]# vim /etc/ssh/sshd_config

 13 #Port 22
 ~~
 42 #PermitRootLogin yes
 ~~
 66 PasswordAuthentication yes
↓
 13 Port 61203
 ~~
 42 #PermitRootLogin yes
 ~~
 66 PasswordAuthentication no

[root@xxx-xxx-xxxxx dotinstall]# service sshd restart
sshd を停止中:                                             [  OK  ]
sshd を起動中:                                             [  OK  ]
変更したポートでログインできるか確認。念のため、いまのターミナルは開いておく
$ ssh -p 61203 dotinstall@xxx.xx.xxx.xxx
Last login: Wed Jul  6 20:15:28 2016 from xxx.xxx.net
-
SAKURA Internet [Virtual Private Server SERVICE]
-
[dotinstall@xxx-xxx-xxxxx ~]$
Firewallの設定
- 他のネットワークとの通信を制御するもの
- ファイルを作ってそこに設定を書く形
ファイルは下記
[root@xxx-xxx-xxxxx dotinstall]# vim /etc/sysconfig/iptables
設定はdotinstall上にあるファイルをそのままコピペ
基本的に入ってくる通信は遮断するが(:INPUT、:FORWARDあたり)
指定のポートだけは開けておく(-A INPUT、-A SERVICESあたり)
という設定
*filter
:INPUT    DROP    [0:0]
:FORWARD  DROP    [0:0]
:OUTPUT   ACCEPT  [0:0]
:SERVICES -       [0:0]
-A INPUT -i lo -j ACCEPT
-A INPUT -p icmp --icmp-type echo-request -m limit --limit 1/s --limit-burst 4  -j ACCEPT
-A INPUT -p tcp -m state --state ESTABLISHED,RELATED -j ACCEPT
-A INPUT -p tcp -m state --state NEW -j SERVICES
-A INPUT -p udp --sport 53 -j ACCEPT
-A INPUT -p udp --sport 123 --dport 123 -j ACCEPT
-A SERVICES -p tcp --dport YOUR_PORT_NUMBER -j ACCEPT
-A SERVICES -p tcp --dport 80 -j ACCEPT
-A SERVICES -p tcp --dport 443 -j ACCEPT
COMMIT
設定の適用コマンドは下記。ポート番号の箇所を直して、再度トライ
[root@xxx-xxx-xxxxx dotinstall]# service iptables start
iptables: ファイアウォールルールを適用中: iptables-restore v1.4.7: invalid port/service `YOUR_PORT_NUMBER' specified
Error occurred at line: 12
Try `iptables-restore -h' or 'iptables-restore --help' for more information.
                                                           [失敗]
[root@xxx-xxx-xxxxx dotinstall]# vim /etc/sysconfig/iptables
[root@xxx-xxx-xxxxx dotinstall]# service iptables start
iptables: ファイアウォールルールを適用中:                  [  OK  ]
設定を確認するためのコマンド
[root@xxx-xxx-xxxxx dotinstall]# iptables -L
Chain INPUT (policy DROP)
target     prot opt source               destination
ACCEPT     all  --  anywhere             anywhere
ACCEPT     icmp --  anywhere             anywhere            icmp echo-request limit: avg 1/sec burst 4
ACCEPT     tcp  --  anywhere             anywhere            state RELATED,ESTABLISHED
SERVICES   tcp  --  anywhere             anywhere            state NEW
ACCEPT     udp  --  anywhere             anywhere            udp spt:domain
ACCEPT     udp  --  anywhere             anywhere            udp spt:ntp dpt:ntp

Chain FORWARD (policy DROP)
target     prot opt source               destination

Chain OUTPUT (policy ACCEPT)
target     prot opt source               destination

Chain SERVICES (1 references)
target     prot opt source               destination
ACCEPT     tcp  --  anywhere             anywhere            tcp dpt:61203
ACCEPT     tcp  --  anywhere             anywhere            tcp dpt:http
ACCEPT     tcp  --  anywhere             anywhere            tcp dpt:https
Webサーバの設定
- 一番メジャーなWebサーバであるApacheを導入 Apacheインストール
[root@xxx-xxx-xxxxx dotinstall]# yum install httpd
自動起動できるように変更(再起動などをした時に自動で起動してほしい)
[root@xxx-xxx-xxxxx dotinstall]# chkconfig httpd on
設定ファイルをいじってセキュリティを高めておく(念のためバックアップも)
[root@xxx-xxx-xxxxx dotinstall]# cp /etc/httpd/conf/httpd.conf /etc/httpd/conf/httpd.conf.org
[root@xxx-xxx-xxxxx dotinstall]# vim /etc/httpd/conf/httpd.conf

  44 ServerTokens OS
 331     Options Indexes FollowSymLinks
 536 ServerSignature On
↓
  44 ServerTokens Prod
 331     Options -Indexes FollowSymLinks
 536 ServerSignature Off
設定ファイルに問題がないか確認→再起動
[root@xxx-xxx-xxxxx dotinstall]# service httpd configtest
Syntax OK
[root@xxx-xxx-xxxxx dotinstall]# service httpd start
httpd を起動中:                                            [  OK  ]
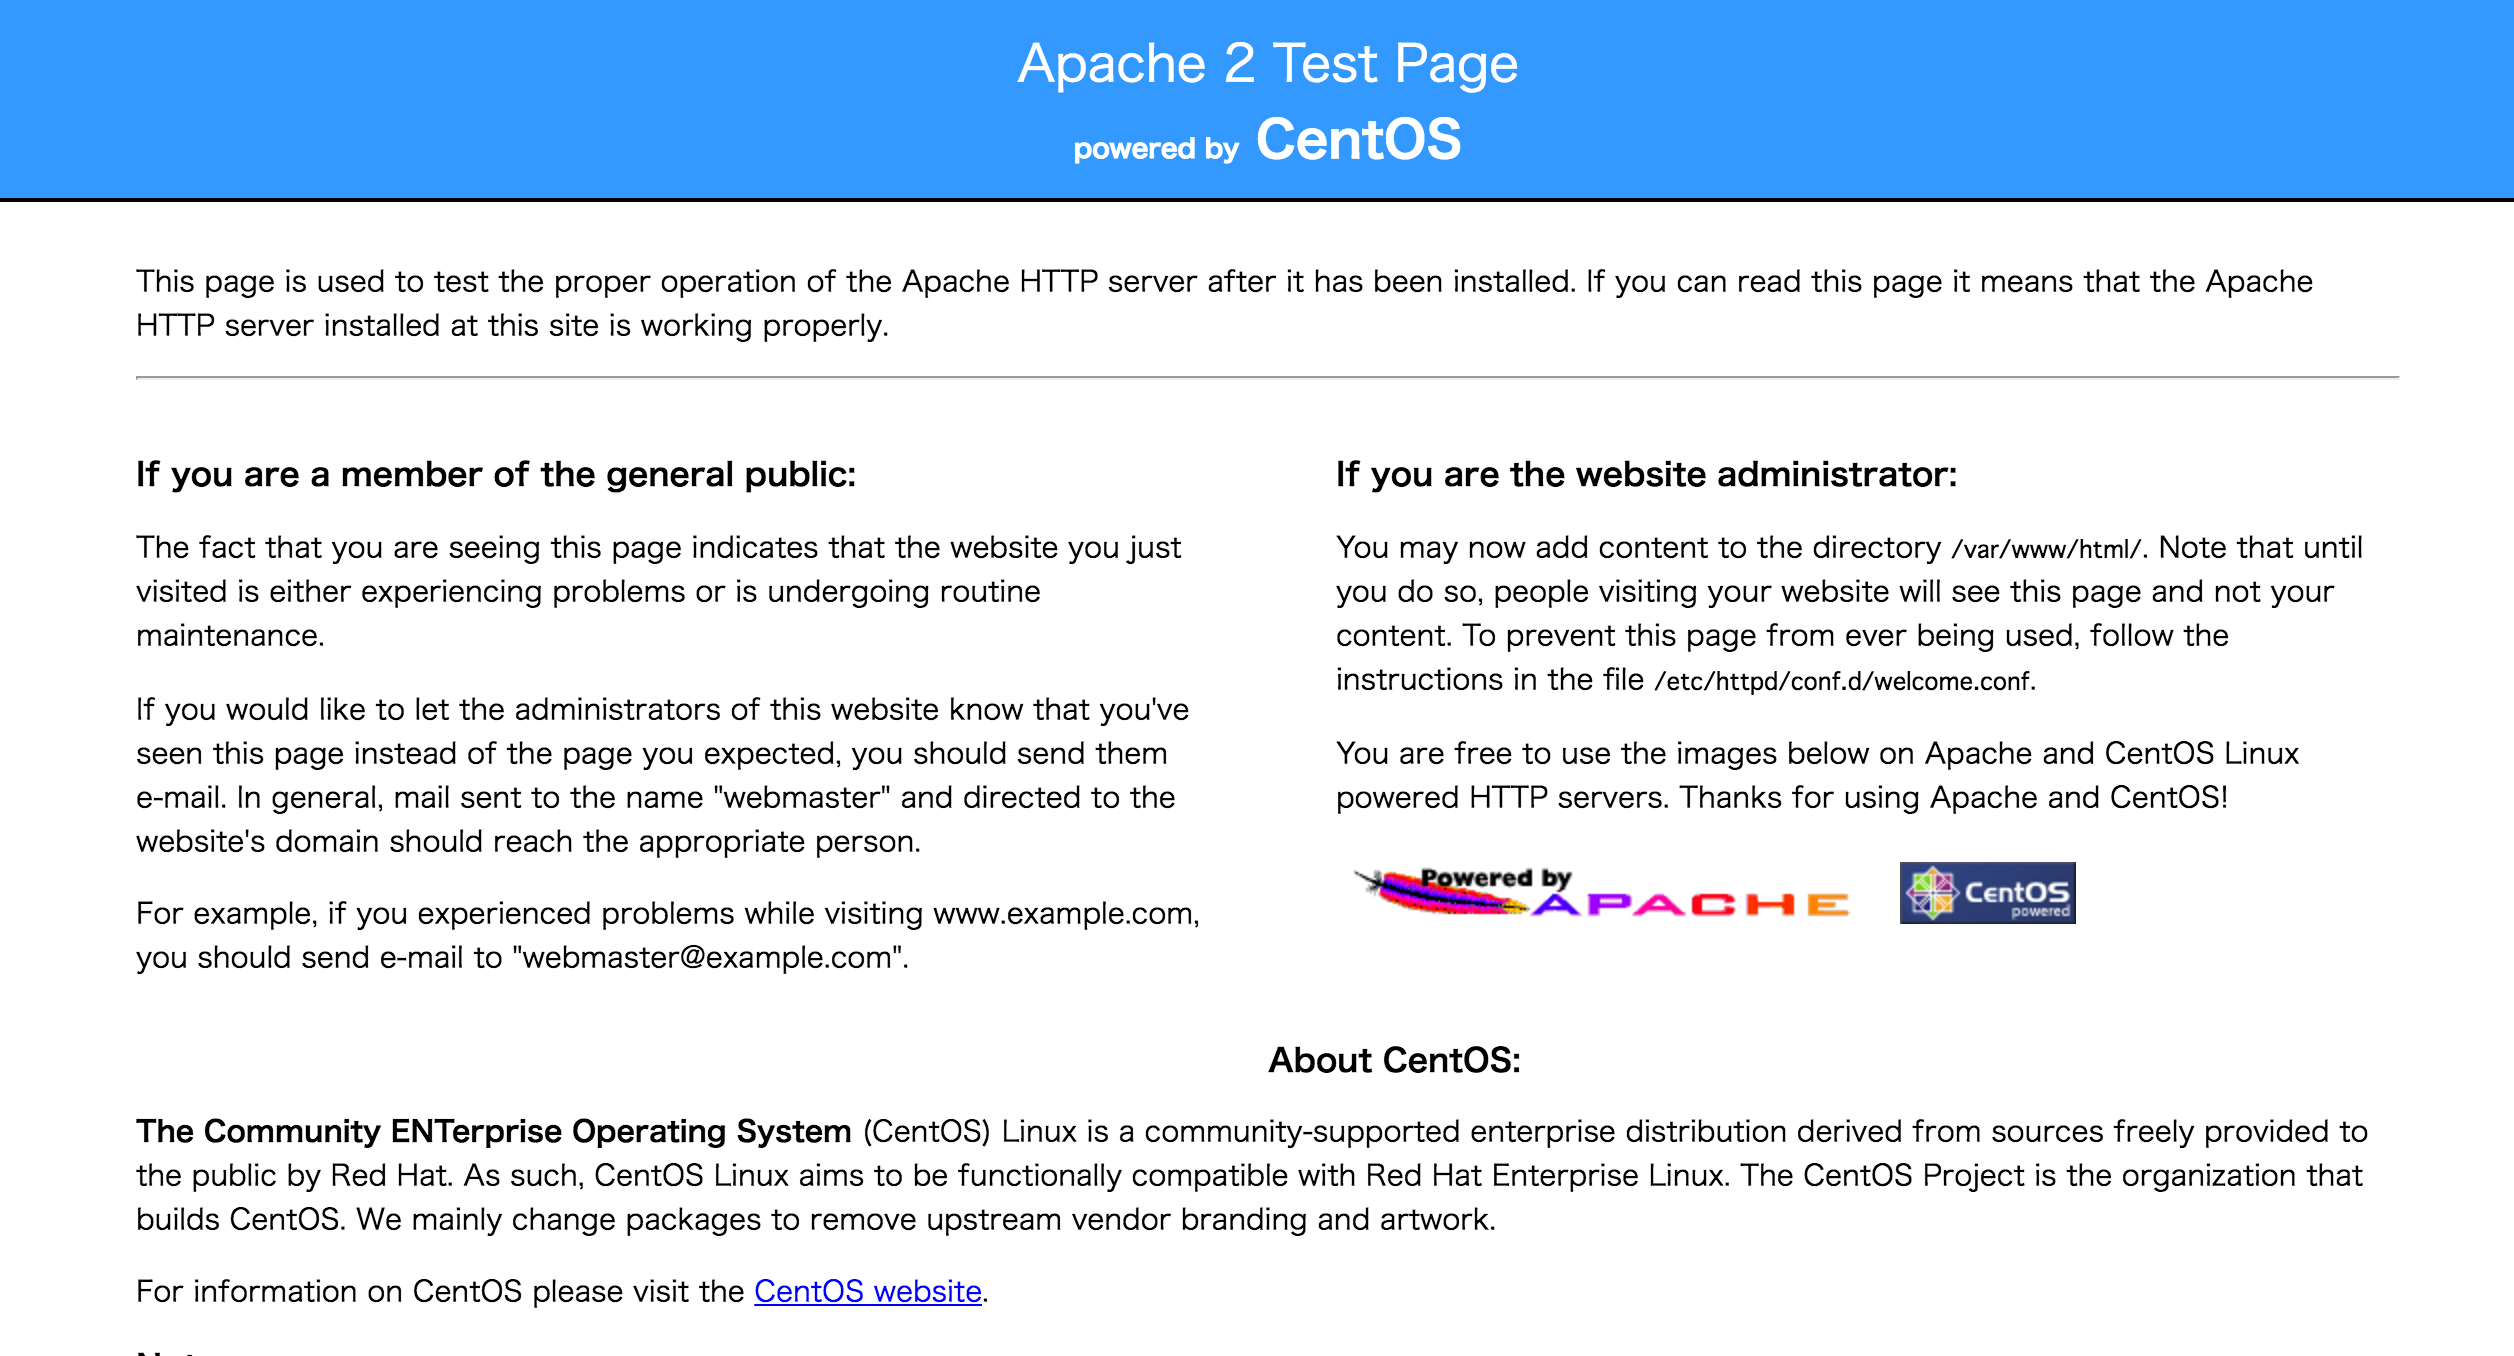
諸々行い、Webサーバを起動させたので、問題ないかをWebから確認。下記画面が出ればOK
なにが表示されるかを管理しているのは、先ほどのファイルの下記
[root@xxx-xxx-xxxxx dotinstall]# vim /etc/httpd/conf/httpd.conf

 292 DocumentRoot "/var/www/html"
dotinstallユーザにも権限を与えておく
[root@xxx-xxx-xxxxx dotinstall]# ll /var/www/
合計 16
drwxr-xr-x 2 root root 4096  5月 12 04:29 2016 cgi-bin
drwxr-xr-x 3 root root 4096  7月  6 20:57 2016 error
drwxr-xr-x 2 root root 4096  5月 12 04:29 2016 html
drwxr-xr-x 3 root root 4096  7月  6 20:57 2016 icons
[root@xxx-xxx-xxxxx dotinstall]# pwd
/home/dotinstall
[root@xxx-xxx-xxxxx dotinstall]# chown -R dotinstall:dotinstall /var/www/html/
[root@xxx-xxx-xxxxx dotinstall]# ll /var/www/
合計 16
drwxr-xr-x 2 root       root       4096  5月 12 04:29 2016 cgi-bin
drwxr-xr-x 3 root       root       4096  7月  6 20:57 2016 error
drwxr-xr-x 2 dotinstall dotinstall 4096  5月 12 04:29 2016 html
drwxr-xr-x 3 root       root       4096  7月  6 20:57 2016 icons
※ WordPressでテーマの新規インストールができなかったので、下記に変更(2016.07.07)
$ tk2-255-37371.vs.sakura.ne.jp:~$ sudo chown -R apache:apache /var/www/html/
ファイル転送ソフトを使ってファイル転送してみる
CyberDuckを利用
SFTP
サーバにさくらVPSのIPアドレス
ポートは新たに設定した61203
ユーザ名はdotinstall
パスは /var/www/html
公開鍵認証を使用するにチェックを入れ、秘密鍵(.ssh/id_rsa)を指定
あとはドラッグアンドドロップでindex.htmlを作って転送して、それがWebページに表示されればOK
VirtualHostの設定
※ 設定したサブドメイン以外でも、デフォルトで下記を見に行ってしまうため、一旦設定解除中(2016.07.07)
- 1つのサーバで複数のドメインを運用したい。
- dev.example.com でアクセスしてきたら、 /var/www/dev.example.com/public_html をみるようにしたい
①別ドメインが参照するディレクトリを作る
[root@xxx-xxx-xxxxx dotinstall]# mkdir -p /var/www/dev.example.com/public_html
[root@xxx-xxx-xxxxx dotinstall]# chown -R dotinstall:dotinstall /var/www/dev.example.com/public_html/
②VirtualHostの設定ファイルを作る
conf.dに.confの拡張子で作ったファイルはWebサーバが立ち上がるときに必ず読み込まれる
内容はdotinstallのものをコピペ(サイト上にはなかったので写経)
 [root@xxx-xxx-xxxxx dotinstall]# vim /etc/httpd/conf.d/dev.example.com.conf

<VirtualHost *:80>
  ServerName dev.example.com
  DocumentRoot "/var/www/dev.example.com/public_html"
  DirectoryIndex index.html index.php
  ErrorLog /var/log/httpd/dev.example.com_error_log
  CustomLog /var/log/httpd/dev.example.com_access_log combined
  AddDefaultCharset UTF-8
  <Directory "/var/www/dev.example.com/public_html/">
    AllowOverride All
  </Directory>
</VirtualHost>
VirtualHostをそもそも有効にするように設定変更
[root@xxx-xxx-xxxxx dotinstall]# vim /etc/httpd/conf/httpd.conf

# 990 NameVirtualHost *:80
↓
990 NameVirtualHost *:80
問題ないか確認
[root@xxx-xxx-xxxxx dotinstall]# service httpd configtest
Syntax OK
[root@xxx-xxx-xxxxx dotinstall]# service httpd restart
httpd を停止中:                                            [  OK  ]
httpd を起動中:                                            [  OK  ]
別ドメインで確認できるか確認するためにファイルを作る。まずはsudoから抜ける
[root@xxx-xxx-xxxxx dotinstall]# exit
exit
[dotinstall@xxx-xxx-xxxxx ~]$ vim /var/www/dev.example.com/public_html/index.html

<html>
hello from dev.example.com
</html>
VPSにドメインを当てる。通常はドメインを買う必要がある。
今回はMacから確認(Hosterというものを利用)ということだが、めんどうなのでスルー
PHPの設定
- PHPのインストール
[dotinstall@xxx-xxx-xxxxx ~]$ sudo -s
[sudo] password for dotinstall:
[root@xxx-xxx-xxxxx dotinstall]# yum install php php-devel php-mysql php-gd php-mbstring
[root@xxx-xxx-xxxxx dotinstall]# php -v
PHP 5.3.3 (cli) (built: May 10 2016 21:39:50)
Copyright (c) 1997-2010 The PHP Group
Zend Engine v2.3.0, Copyright (c) 1998-2010 Zend Technologies
- PHPの設定変更
[root@xxx-xxx-xxxxx dotinstall]# cp /etc/php.ini /etc/php.ini.org
[root@xxx-xxx-xxxxx dotinstall]# vim /etc/php.ini

 432 expose_php = On
 634 ;error_log = php_errors.log
 946 ;date.timezone =
1542 ;mbstring.language = Japanese
1548 ;mbstring.internal_encoding = EUC-JP
1552 ;mbstring.http_input = auto
1570 ;mbstring.detect_order = auto
↓
 432 expose_php = Off
 634 error_log = /var/log/php_errors.log
1542 mbstring.language = Japanese
1548 mbstring.internal_encoding = UTF-8
1552 mbstring.http_input = auto
1570 mbstring.detect_order = auto

[root@xxx-xxx-xxxxx dotinstall]# service httpd restart
httpd を停止中:                                            [  OK  ]
httpd を起動中:                                            [  OK  ]
MySQLの設定
- MySQLをインストール
[root@tk2-255-37371 dotinstall]# yum install mysql-server
- 設定を追加(既存箇所の変更はなく、9~15行目を追加)
[root@tk2-255-37371 dotinstall]# cp /etc/my.cnf /etc/my.cnf.org
[root@tk2-255-37371 dotinstall]# vim /etc/my.cnf

  1 [mysqld]
  2 datadir=/var/lib/mysql
  3 socket=/var/lib/mysql/mysql.sock
  4 user=mysql
  5 # Disabling symbolic-links is recommended to prevent assorted security risks
  6 symbolic-links=0
  7
  8 [mysqld_safe]
  9 log-error=/var/log/mysqld.log
 10 pid-file=/var/run/mysqld/mysqld.pid
↓
  1 [mysqld]
  2 datadir=/var/lib/mysql
  3 socket=/var/lib/mysql/mysql.sock
  4 user=mysql
  5 # Disabling symbolic-links is recommended to prevent assorted security risks
  6 symbolic-links=0
  7
  8
  9 character_set_server = utf8
 10 default-storage-engine = InnoDB
 11 innodb_file_per_table
 12 [mysql]
 13 default-character-set = utf8
 14 [mysqldump]
 15 default-character-set = utf8
 16
 17
 18 [mysqld_safe]
 19 log-error=/var/log/mysqld.log
 20 pid-file=/var/run/mysqld/mysqld.pid

[root@tk2-255-37371 dotinstall]# service mysqld start
MySQL データベースを初期化中:  Installing MySQL system
...
mysqld を起動中:                                           [  OK  ]
- 1つおまじないを掛けておく(パスワードはdotinstallユーザログイン時と同じ)
[root@tk2-255-37371 dotinstall]# mysql_secure_installation
...
Set root password? [Y/n] y
New password:
Reloading privilege tables..
 ... Success!
Remove anonymous users? [Y/n] y
 ... Success!
Disallow root login remotely? [Y/n] y
 ... Success!
Remove test database and access to it? [Y/n] y
 - Dropping test database...
 ... Success!
Reload privilege tables now? [Y/n] y
 ... Success!
Thanks for using MySQL!
- MySQLが立ち上がるか確認
[root@tk2-255-37371 dotinstall]# mysql -u root -p
Enter password:
-
mysql>
Ruby & Railsの設定
MongoDBの導入
その他の細かい対応
- SSHが一定時間放置すると途切れてしまう問題への対処 ~~~ tk2−255−37371.vs.sakura.ne.jp: tk2−255−37371.vs.sakura.ne.jp: sudo vim /etc/ssh/sshd_config [sudo] password for dotinstall:
119 #ClientAliveInterval 0
120 #ClientAliveCountMax 3
~~~
↓
119 ClientAliveInterval 60
120 ClientAliveCountMax 3

$ tk2-255-37371.vs.sakura.ne.jp:~$ sudo /etc/init.d/sshd restart